


Couch Sitter
- Feb 4, 2022
- 3 min read
In the evenings, I sit on the couch and sew by hand. I either quilt, crochet or embroidery. When I sew on the couch, I need a place to put my stuff. Many times I have been digging between cushions to recover a thimble, or a pair of scissors. When I am done for the evening, the back of the couch has an unsightly pile of thread ends that need to be gathered and tossed out. I have been thinking of a way to do this better!


See? It is untidy, and that basket can (and has been known to) tip over at any moment spilling pins, needles , scissors, thread, thimbles and whatever else is in there all over the couch cushions.
I have seen these organizers that drape over the arm of a chair, and I figured I could maybe make one for the back of the couch. I did not really find a pattern on line that met all my needs, so I sort of invented my own, taking parts that I liked from different ideas I saw online.
Here is what I did.

First step - choose a fabric. This is a panel I had. I think I bought it at a quilt show. I had used only a bit of it to make a pillow, and I was thinking it would suit just fine for this. I cut the panel 22" X 11".

Then I chose a backing fabric and a piece of flannel to place on the inside, to give it all a little weight.
I did not plan to quilt this project, as many online patterns do. I figured it would be fine without it.

I wanted the ends to be curved. So, off to the kitchen to find some round something that would fit, and I traced around it to make the ends curved.


After that, I was ready to sew it together. Right sides together, leaving a bit open so I could turn it right side out.


After sewing, clipping corners, turning and top stitching, the main body was complete. Now for the details.

A pincushion! For this I chose 2 contrasting fabric. The blue is the fabric I used on the back of the main body too.

I cut 4 squares from each fabric 4 1/2 " square. I sewed them together like a four-patch.

I need another circle! Back to the kitchen. I found a 5 1/2" bowl that would work fine.

Traced around the bowl, and cut both of the four patches in a circle.

Before I put right sides together to sew this pincushion, I used some velcro on the bottom side. I want the pincushion to be secure on the back of the couch, but I want to be able to move it if I want.

I lined up the other side of the velcro to sew onto the main body of the couch sitter.

Ok, now - right sides together, sew leaving a bit open for stuffing. In most of the pincushions I make I used nut seed pieces as it works best for pins.

But, in this one I used plain old stuffing. I could just picture a tear in the pincushion some day and those nut seeds being all over my couch!

Sewing a button to the center completes this part of the project.

Now I know I need some pockets. Since the image on the base is nice, I took a duplicate panel to make the pockets. The pockets will hold thread, a thimble and the always important hand lotion!

The last order of business is a thread catcher. This is the place where you can put ends of cut threads, and empty into the trash later. I made these two thread catchers a few years ago

See? They collapse!

The best part about making these, is that you need to eat a whole thing of Pringles, as a Pringles can is the most important part of the insides.
Anyway, I decided to use the black and white one, as it matches the fabric used in the pincushion.

By using velcro on the side, and also the bottom, I can use it open while I am working, and collapse it and have it be attached flat if I need to fold this and put it away.
The last thing to do is to keep track of the scissors. When I make a quilt, I always have extra binding, which I keep. To keep track of the scissors I used some old binding, with a Kam snap set on each end.

I love Kam snaps - plastic, strong, easy to use.

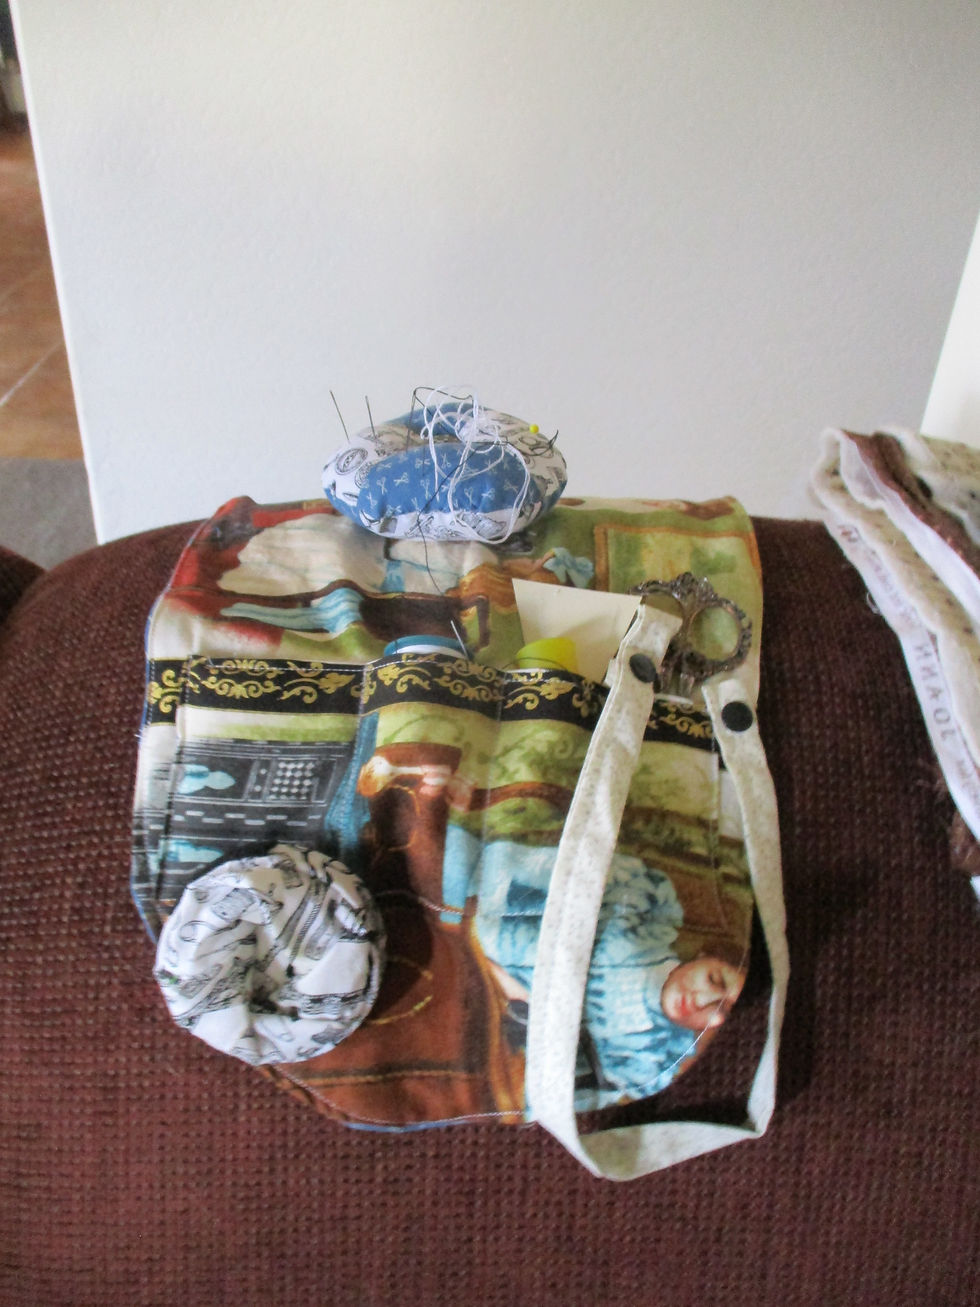
Done!

In both of these photos the thread catcher is attached - above it is open and ready to work, below closed up when it is empty.


Comments